Handle Attachments
Handle attachments built around the bag's construction
Handle attachments connect a visible design detail to the structure of the bag. Review post spacing, mounting method, leather thickness, movement, visible face and assembly sequence before tooling.
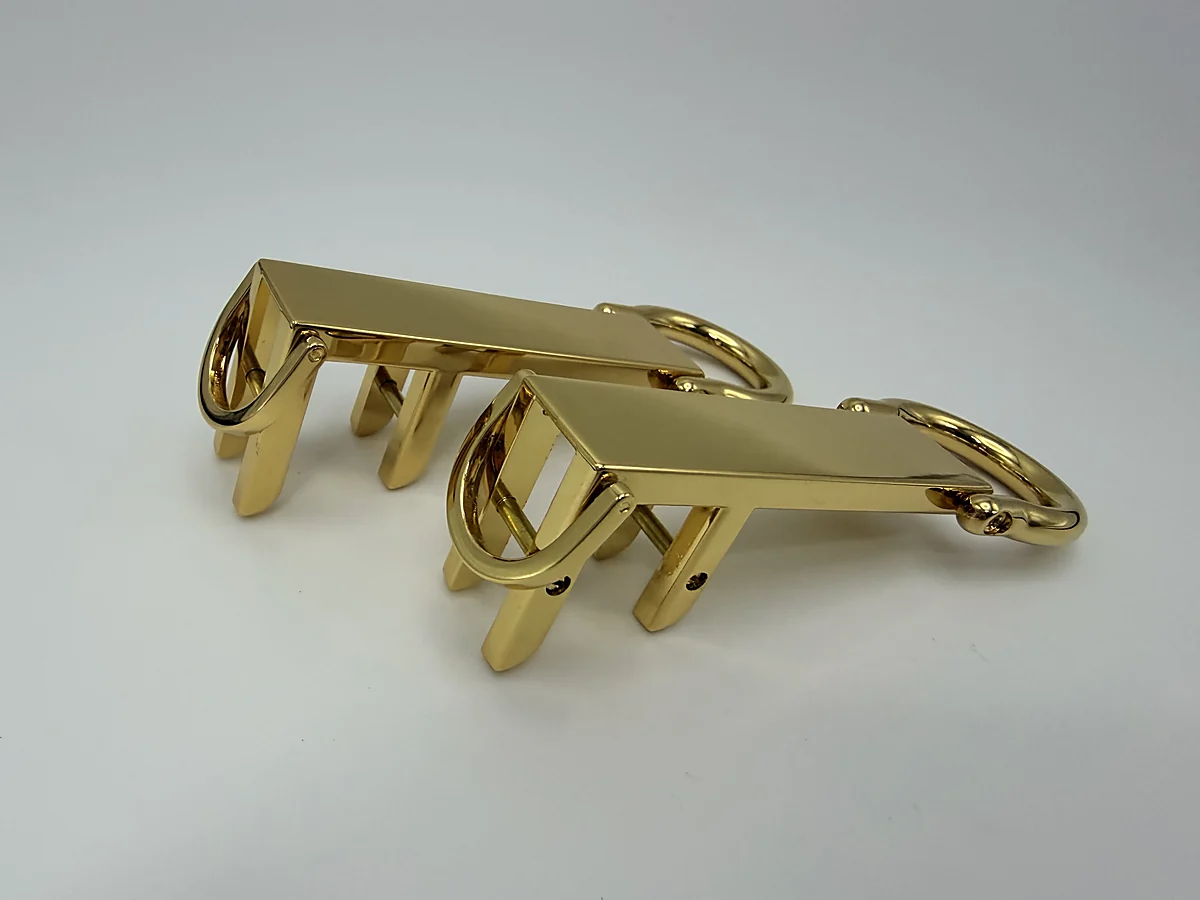
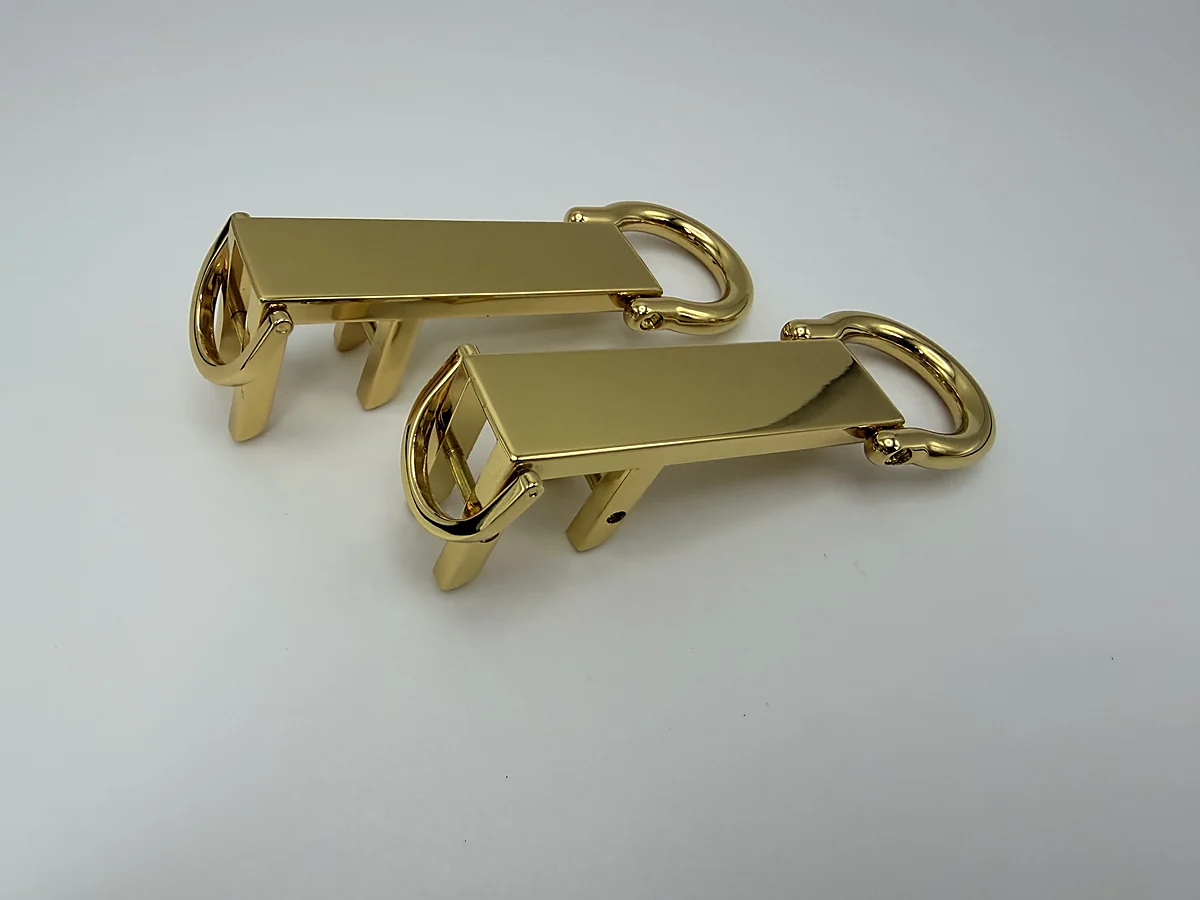
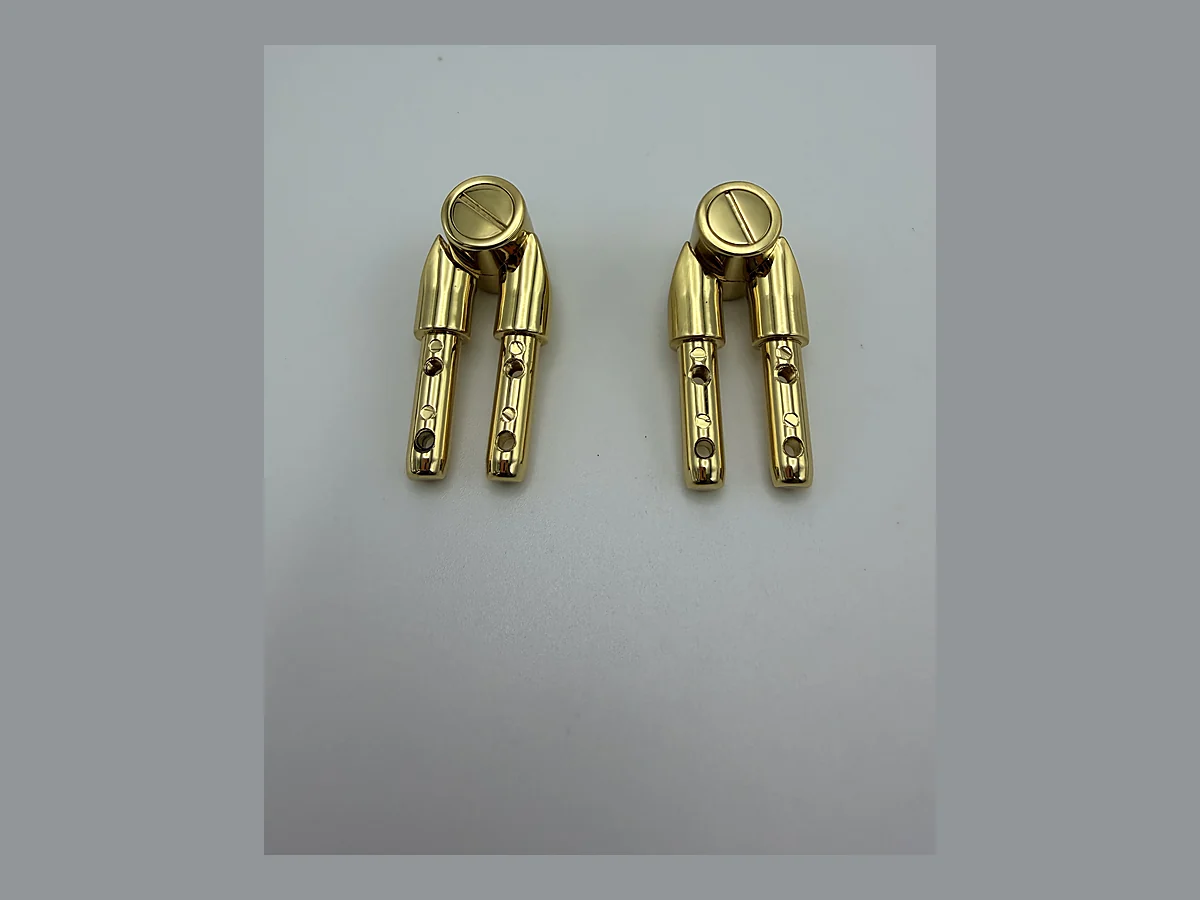
Photographs are design references. Confirm dimensions, material, finish and availability against the current drawing and sample.
Product structure
Start with the finished bag, not only the hardware shape.
Show the component in context so the design review can cover fit, function, visible proportion and the way the hardware connects to leather, lining, webbing or another metal part.
Top handles
Show the handle width, leather stack, post or bridge position and how the attachment sits on the top panel.
Structured and framed bags
Confirm the frame or reinforcement, mounting access, visible face and any movement needed when the bag opens.
Decorative handle connectors
Share the surrounding ring, plate or hinge when the attachment is part of a coordinated hardware set.
Small and compact bags
Confirm clearances, screw or post access and the order in which leather, lining and hardware are assembled.
Specification review
Review the connection from handle to reinforced panel.
Use the current drawing revision and identify the dimensions that control fit. Set tolerances with the manufacturing route and surface finish in view.
| Decision | What to specify | What to check on the sample |
|---|---|---|
| Mounting layout | Hole or post centres, base footprint and panel curvature. | Check against the bag pattern and mounting template. |
| Material stack | Leather, reinforcement and lining thickness at each fixing. | Confirm fixing length and access before closing the lining. |
| Handle interface | Handle width, connecting ring dimensions and pivot clearance. | Operate the handle through its intended movement. |
| Loading | Handle angle, load direction and intended use of the assembled bag. | Agree checks for the fitting, fasteners and panel as one assembly. |
Material and finish
Approve the material, surface and assembled part together.
Zinc-alloy die casting is Zhenglin's primary route for custom hardware. Material selection also depends on the shape, mounting and expected use. Read the zinc alloy and stainless steel comparison before fixing the specification.
Share a physical colour reference and identify the matching hardware. Confirm the coating process on the intended material with the finish approval guide.
Sample acceptance
- MovementCheck rotation and clearances against the bag body and surrounding hardware.
- FasteningReview backing support, fixing access and the finished inside surface.
- Repeated useAgree movement and loading checks using a representative handle and panel.
What to send
Give the first review enough context.
- Drawing or referenceCurrent drawing, reference image or sample, with revision where available.
- Critical dimensionsInterface size, material thickness, clearance, hole or post position and any fit dimension.
- FunctionWhat the part must lock, attach, adjust, rotate, support or decorate.
- Finish directionColour, physical sample, visible surfaces and matching hardware.
- QuantityExpected sample quantity, first order and repeat program where known.
Sampling and tooling
Move from design intent to repeatable production.
- Design reviewReview dimensions, structure, function, assembly and finish intent.
- SamplingSelect a sample route that answers the first question: proportion, visible form, interface or function.
- Tooling and trialAfter geometry approval, translate the design toward repeatable tooling and trial production.
- Finish approvalConfirm colour, surface appearance and visible edges on the intended part.
- Production and assemblyReview the confirmed component and required assembly method for the program.
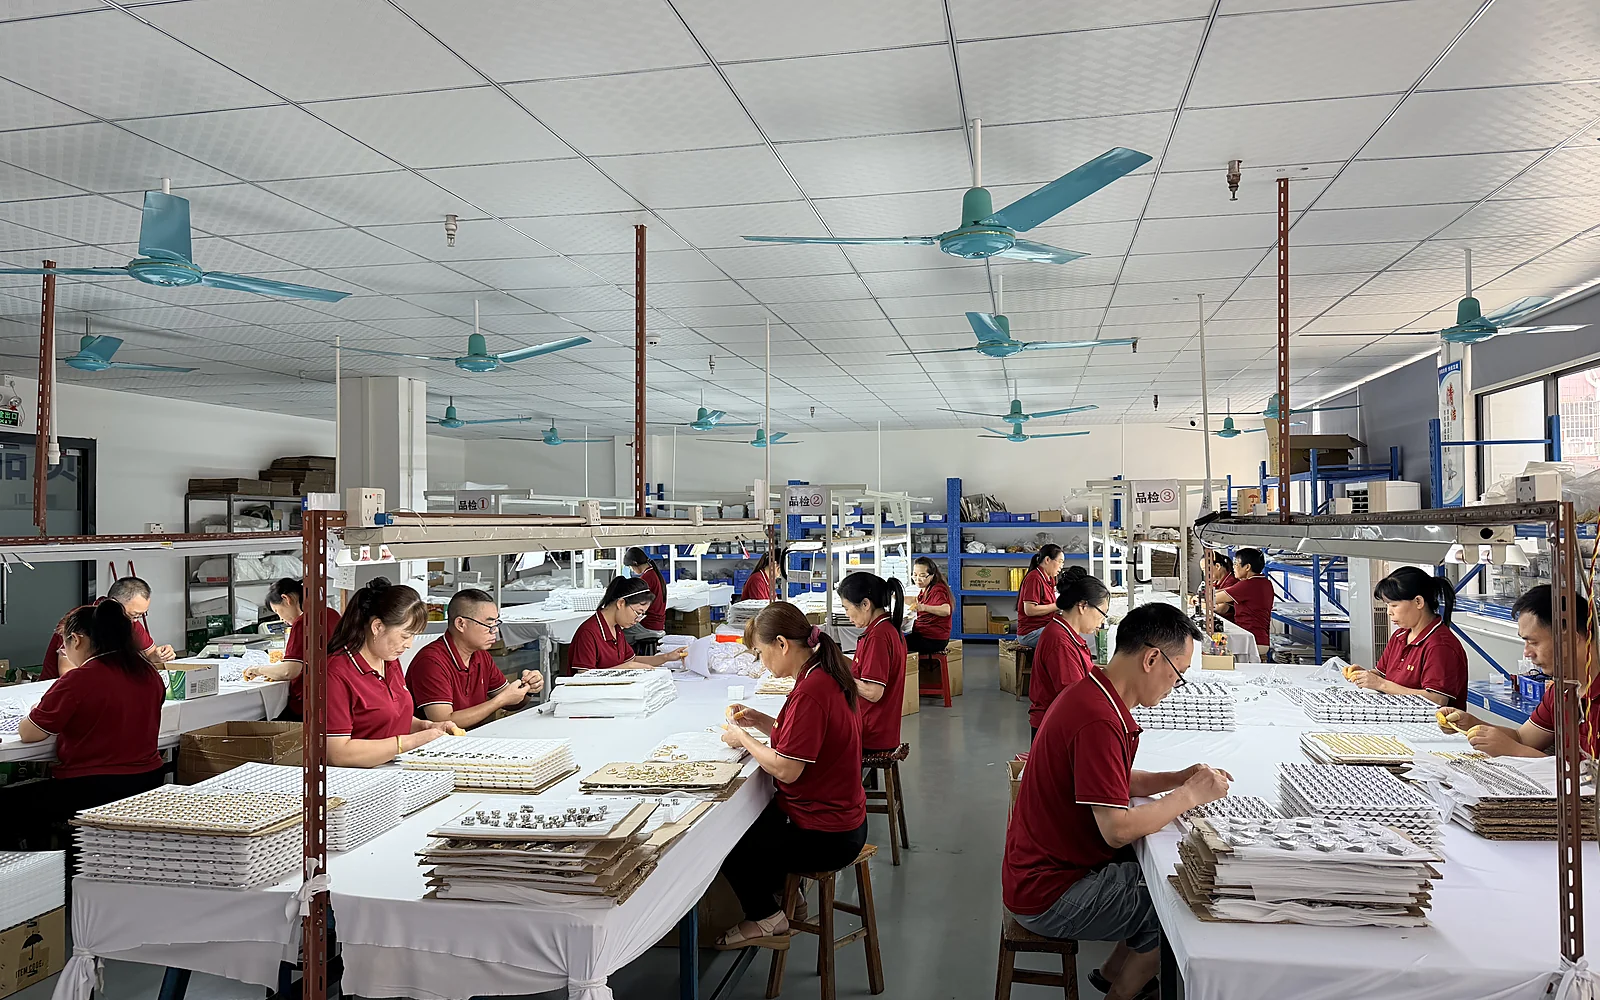
Tooling, finish and production conditions are confirmed for each project.
Purchasing questions
Before requesting a quotation
Why does the reinforcement matter for a metal handle fitting?
The fitting transfers force into the bag panel. A strong metal part can still pull through or distort an unsuitable panel, so the backing and fasteners belong in the review.
When should the assembly sequence be reviewed?
Before tooling approval. Confirm when the fitting is installed and whether the fastener remains accessible after lining and other components are assembled.
What is the minimum order quantity?
MOQ starts from 500 pieces. Confirm the quantity for each design and finish in your inquiry; sample quantities and the production order are discussed separately.
How are tooling costs and lead times confirmed?
Send the drawing or reference, finish and quantity. The quotation should separate tooling, samples and production, with timing linked to the approved design, sample route and finish requirements.
Request a handle attachments quotation
Send your drawing or reference, bag construction, finish and estimated quantity. MOQ starts from 500 pieces; confirm the requirement for each design and finish.
Send a custom RFQ →