Logo Plates
Custom logo plates and brand elements for handbags
A logo plate has to carry the mark clearly while fitting the bag's proportions, material stack and finish language. Zhenglin reviews the artwork, visible face, mounting method and production route together.
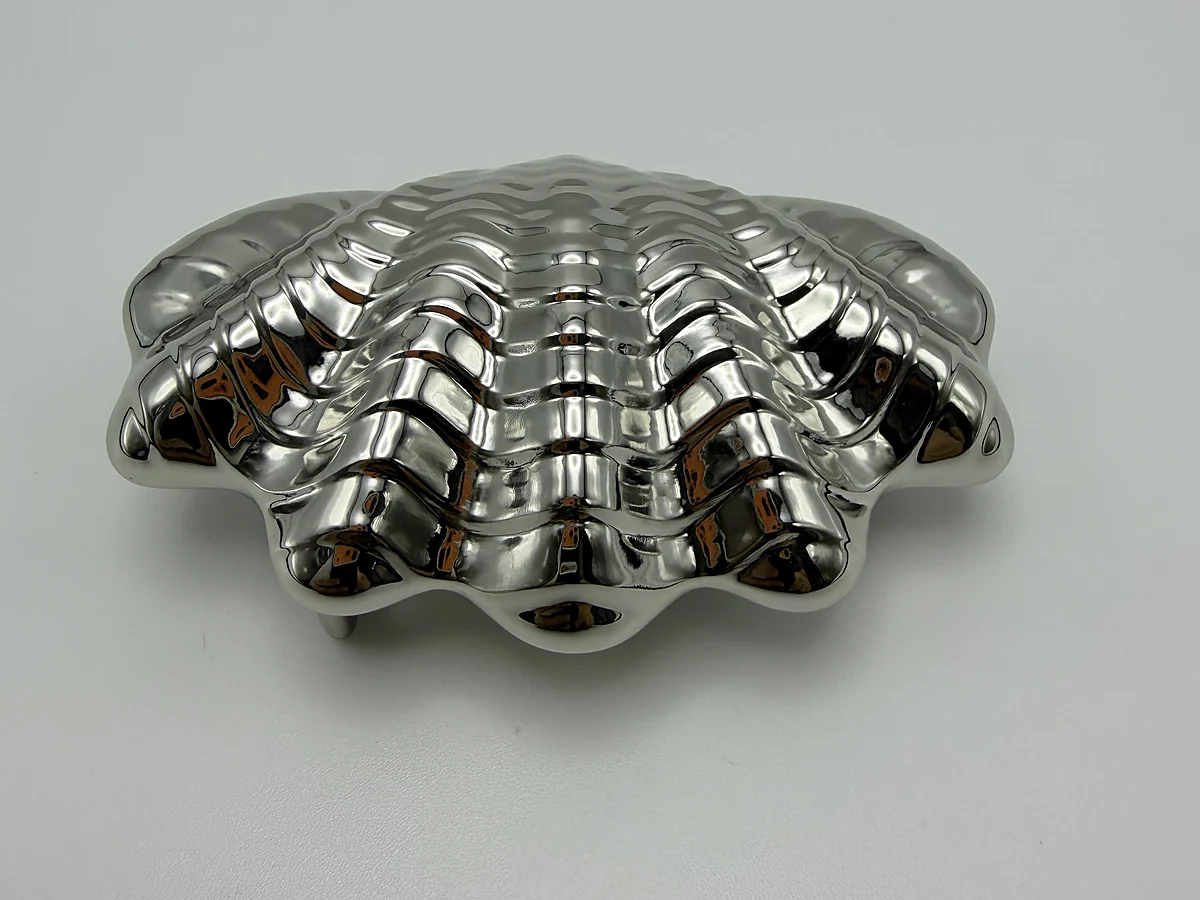
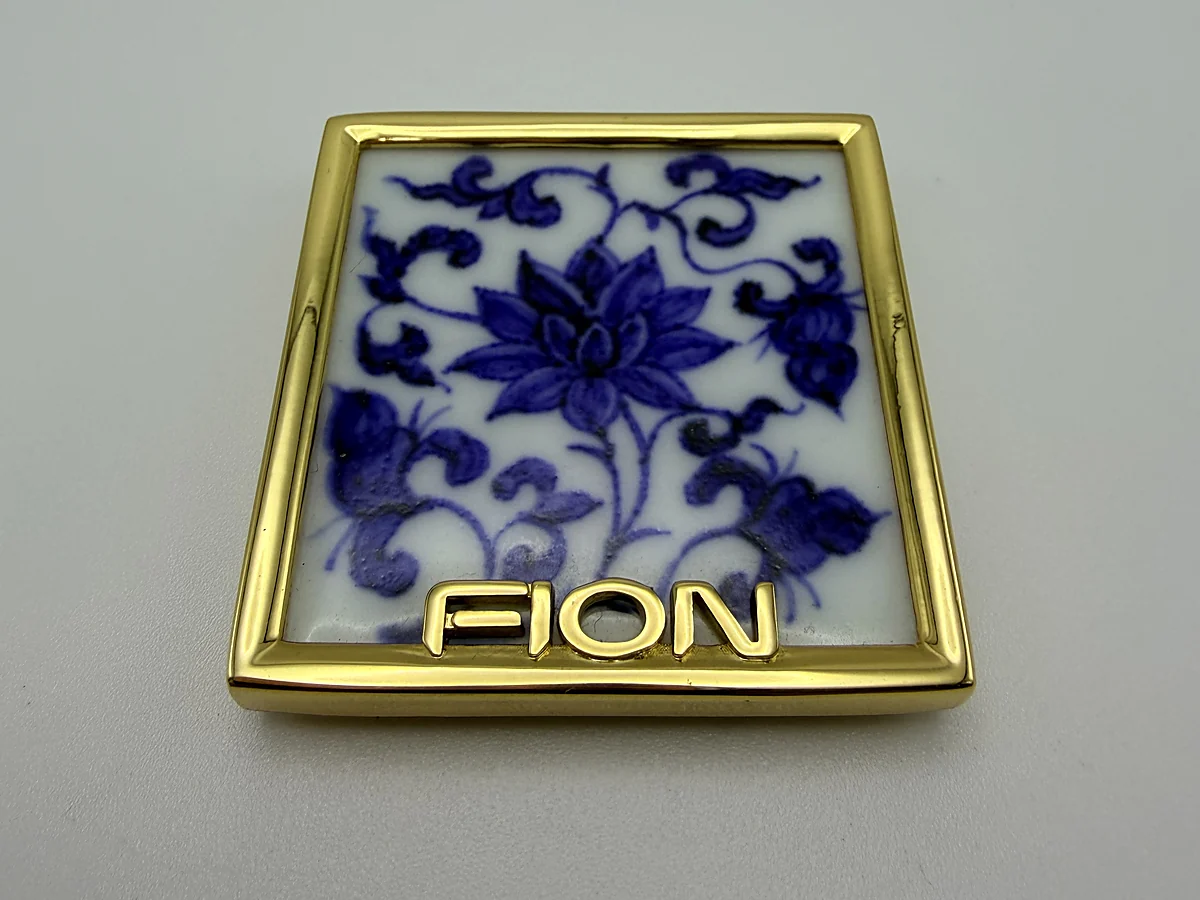
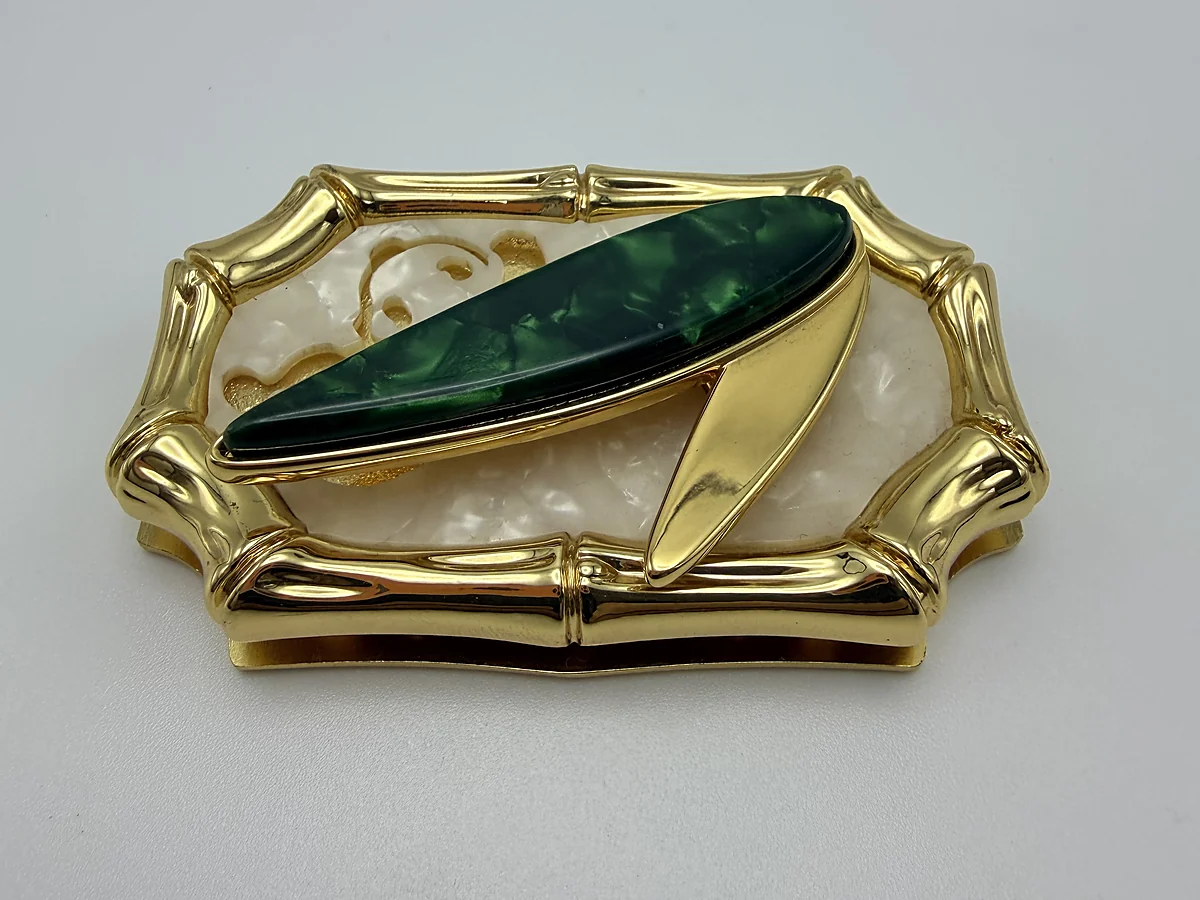
These photographs show decorative shapes and surface treatments as design references. Your logo plate is developed from your own artwork and mounting requirements.
Product structure
Start with the finished bag, not only the hardware shape.
Show the component in context so the design review can cover fit, function, visible proportion and the way the hardware connects to leather, lining, webbing or another metal part.
Front panels and flap bags
Show the logo position, panel curvature, leather thickness and whether the plate is mounted through the leather, onto a base or integrated with a closure.
Small leather goods and accessories
Confirm the available footprint, corner radius, logo scale and mounting clearance where the part has limited space.
Decorative brand hardware
If the mark is combined with enamel, stone or a sculpted border, provide the artwork and the visual priority for each element.
Hardware sets
Share matching locks, rings or handle fittings when the logo plate must follow the same colour and surface direction.
Specification review
Make the artwork measurable before making the tool.
Use the current drawing revision and identify the dimensions that control fit. Set tolerances with the manufacturing route and surface finish in view.
| Decision | What to specify | What to check on the sample |
|---|---|---|
| Artwork | Vector artwork where available, readable lettering and logo orientation. | Check the mark at actual size, including fine lines and enclosed spaces. |
| Plate geometry | Overall width, height, thickness, curvature and corner treatment. | Review proportion on the finished bag and edge contact with the panel. |
| Logo treatment | Raised, recessed or engraved detail and any colour-filled areas. | Confirm the feasible process and review edge definition on a sample. |
| Attachment | Post or hole centres, fixing method, backing and panel thickness. | Check mounting access, attachment length and the inside finish. |
| Surface | Metal colour, texture, visible faces and matching hardware. | Approve the logo detail after the proposed finishing process. |
Material and finish
Approve the material, surface and assembled part together.
Zinc-alloy die casting is Zhenglin's primary route for custom hardware. Material selection also depends on the shape, mounting and expected use. Read the zinc alloy and stainless steel comparison before fixing the specification.
Share a physical colour reference and identify the matching hardware. Confirm the coating process on the intended material with the finish approval guide.
Sample acceptance
- LegibilityReview fine lettering after polishing and finishing at the intended viewing distance.
- Orientation and fitConfirm the mark sits level and the mounting positions match the bag pattern.
- Edges and retentionCheck exposed edges and define attachment checks on the intended panel.
What to send
Give the first review enough context.
- Drawing or referenceCurrent drawing, reference image or sample, with revision where available.
- Critical dimensionsInterface size, material thickness, clearance, hole or post position and any fit dimension.
- FunctionWhat the part must lock, attach, adjust, rotate, support or decorate.
- Finish directionColour, physical sample, visible surfaces and matching hardware.
- QuantityExpected sample quantity, first order and repeat program where known.
Sampling and tooling
Move from design intent to repeatable production.
- Design reviewReview dimensions, structure, function, assembly and finish intent.
- SamplingSelect a sample route that answers the first question: proportion, visible form, interface or function.
- Tooling and trialAfter geometry approval, translate the design toward repeatable tooling and trial production.
- Finish approvalConfirm colour, surface appearance and visible edges on the intended part.
- Production and assemblyReview the confirmed component and required assembly method for the program.
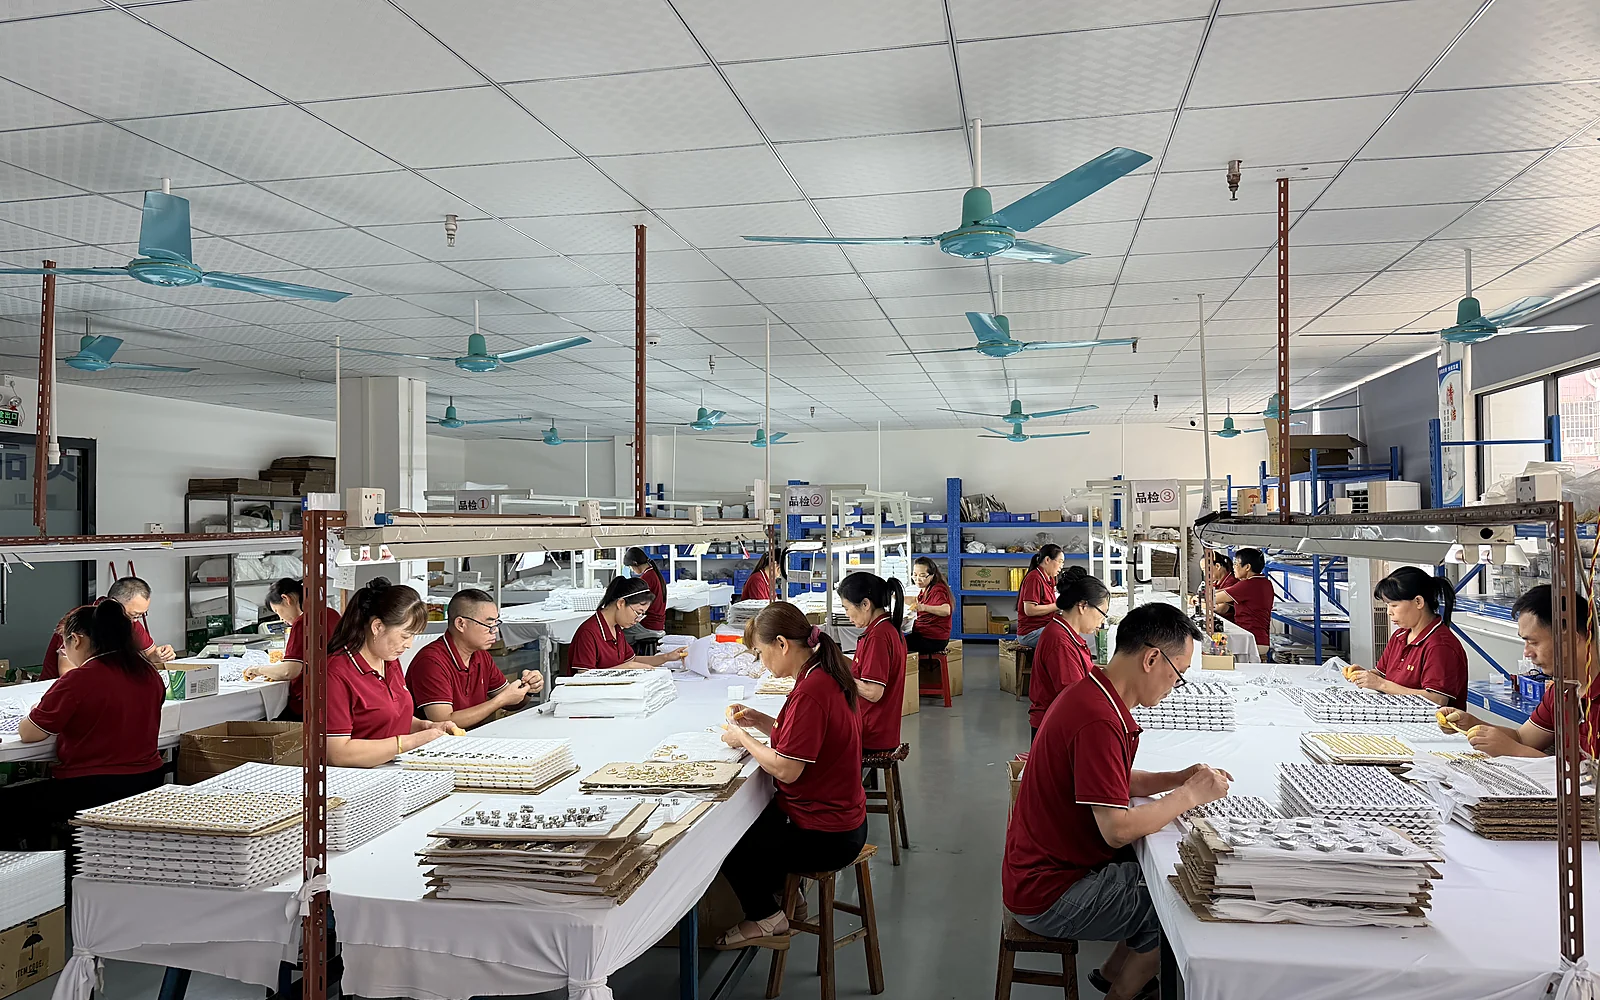
Tooling, finish and production conditions are confirmed for each project.
Purchasing questions
Before requesting a quotation
What files should I send for a custom metal logo plate?
Send vector artwork if available, overall dimensions, the desired raised or recessed effect, finish and a sketch of the fixing method. A reference image can start the discussion when final artwork is not ready.
Can every fine line in my artwork be reproduced?
Feasibility depends on the finished size, relief depth, tooling route and surface process. Review the smallest letters and gaps on a sample before approving production.
What is the minimum order quantity?
MOQ starts from 500 pieces. Confirm the quantity for each design and finish in your inquiry; sample quantities and the production order are discussed separately.
How are tooling costs and lead times confirmed?
Send the drawing or reference, finish and quantity. The quotation should separate tooling, samples and production, with timing linked to the approved design, sample route and finish requirements.
Request a logo plates quotation
Send your drawing or reference, bag construction, finish and estimated quantity. MOQ starts from 500 pieces; confirm the requirement for each design and finish.
Send a custom RFQ →